
Why Your Kitchen Tap Handle Won’t Swivel: Troubleshooting and Solutions
Is your kitchen tap handle stubbornly refusing to swivel? A stiff or stuck kitchen tap handle can be incredibly frustrating, turning a simple task into an unwelcome chore. You’re not alone; many homeowners face this issue, often wondering if they’re about to break something. This comprehensive guide addresses the common causes of a kitchen tap handle that won’t swivel and provides step-by-step solutions to get your tap working smoothly again. We’ll explore everything from mineral buildup to worn-out components, offering expert advice and practical tips to restore your tap’s functionality. Our goal is to equip you with the knowledge and confidence to tackle this problem yourself, saving you time and money on costly plumbing repairs.
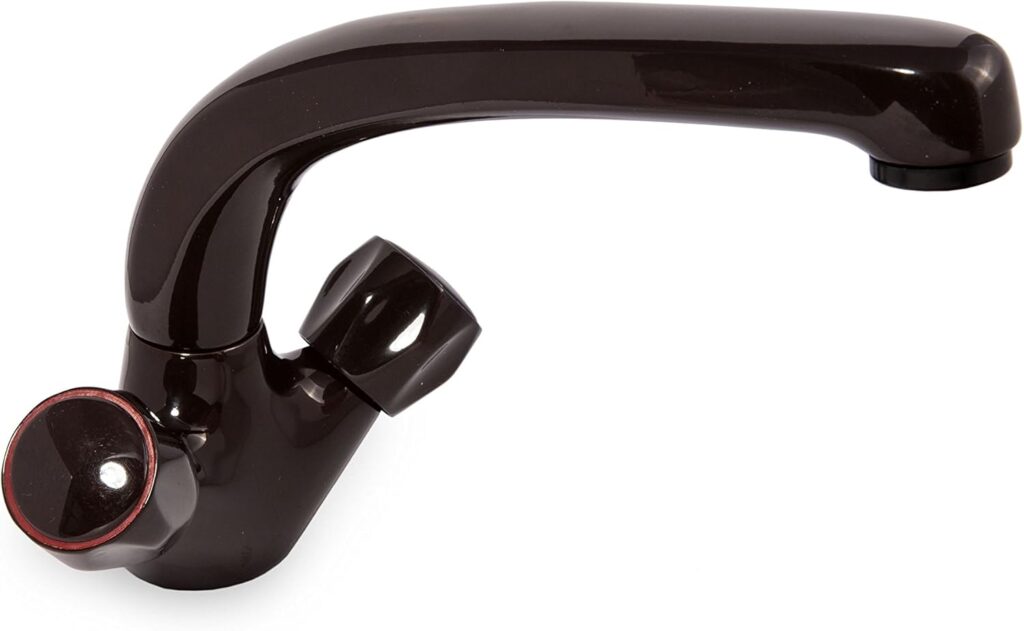
Understanding the Mechanics of a Swivel Tap
Before diving into troubleshooting, it’s crucial to understand how a swivel tap works. Most kitchen taps utilize a simple mechanism: a spout that rotates around a central base. This movement is made possible by O-rings or rubber seals that allow the spout to turn smoothly while preventing leaks. Over time, these components can degrade, leading to friction and stiffness. Mineral deposits from hard water can also accumulate within the tap’s internal workings, further hindering movement. Understanding these basics is the first step in diagnosing why your kitchen tap handle won’t swivel.
Common Causes of a Stiff or Stuck Tap Handle
Several factors can contribute to a kitchen tap handle that refuses to swivel. Identifying the root cause is essential for effective repair. Here are some of the most common culprits:
- Mineral Buildup: Hard water contains minerals like calcium and magnesium, which can deposit inside the tap, restricting movement.
- Corrosion: Over time, metal parts within the tap can corrode, leading to stiffness and seizing.
- Worn-Out O-Rings: The rubber O-rings that provide a seal and allow smooth rotation can dry out, crack, or disintegrate.
- Debris Accumulation: Small particles of dirt, sand, or other debris can get trapped within the tap mechanism.
- Improper Installation: In some cases, a tap may have been installed incorrectly, leading to undue stress on the swivel mechanism.
Tools and Materials You’ll Need
Before you start any repairs, gather the necessary tools and materials. Having everything on hand will make the process smoother and more efficient.
- Adjustable wrench
- Screwdrivers (Phillips and flathead)
- Penetrating oil
- White vinegar
- Old toothbrush
- Clean cloths
- Replacement O-rings (ensure they are the correct size for your tap model)
- Plumber’s grease
- Safety glasses
- Gloves
Step-by-Step Guide to Freeing a Stuck Tap Handle
Now, let’s get to work! Follow these steps to diagnose and fix your stubborn kitchen tap handle:
Step 1: Turn Off the Water Supply
Before you begin any work on your tap, it’s crucial to turn off the water supply to prevent flooding. Locate the shut-off valves under your sink and turn them clockwise until they are fully closed. If you can’t find individual shut-off valves, you may need to turn off the main water supply to your house.
Step 2: Disassemble the Tap
Carefully disassemble the tap to access the swivel mechanism. This usually involves removing the tap handle, spout, and any retaining nuts or screws. Consult your tap’s user manual or search online for a diagram specific to your model. Take photos as you disassemble the tap to help you remember how to put it back together correctly.
Step 3: Inspect for Mineral Buildup
Once you’ve disassembled the tap, inspect the internal components for mineral buildup. White, chalky deposits are a telltale sign of hard water. Pay close attention to the base of the spout and the surrounding areas.
Step 4: Soak in Vinegar
Soak the affected parts in white vinegar to dissolve mineral deposits. Vinegar is a natural and effective cleaning agent that won’t damage the tap’s finish. Submerge the parts in vinegar for at least a few hours, or preferably overnight. For stubborn deposits, you can gently scrub with an old toothbrush.
Step 5: Apply Penetrating Oil
If mineral buildup isn’t the primary issue, corrosion may be the culprit. Apply penetrating oil to the swivel mechanism and let it sit for 15-20 minutes. The oil will help loosen any seized parts.
Step 6: Check and Replace O-Rings
Inspect the O-rings for wear and tear. If they are cracked, dry, or damaged, replace them with new ones of the correct size. Apply a small amount of plumber’s grease to the new O-rings before installation to ensure smooth movement and a good seal.
Step 7: Remove Debris
Check for any debris or sediment that may be obstructing the swivel mechanism. Clean all parts thoroughly with water and a soft cloth.
Step 8: Reassemble the Tap
Carefully reassemble the tap, following the reverse order of disassembly. Make sure all parts are properly aligned and tightened. Don’t overtighten, as this can damage the tap.
Step 9: Test the Swivel Action
Turn the water supply back on and test the swivel action of the tap handle. It should now move smoothly and freely. Check for any leaks and tighten any connections if necessary.
Preventive Maintenance for a Smooth-Swiveling Tap
Prevention is always better than cure. Here are some tips to keep your kitchen tap handle swiveling smoothly for years to come:
- Regular Cleaning: Periodically clean your tap with a mild detergent and water to remove surface dirt and grime.
- Vinegar Soak: Once or twice a year, disassemble the tap and soak the parts in vinegar to prevent mineral buildup.
- Lubrication: Apply plumber’s grease to the O-rings and swivel mechanism to keep them lubricated.
- Water Softener: If you live in an area with hard water, consider installing a water softener to reduce mineral deposits.
When to Call a Plumber
While many tap issues can be resolved with DIY repairs, some situations require the expertise of a professional plumber. Consider calling a plumber if:
- You’re uncomfortable disassembling the tap.
- You can’t identify the cause of the problem.
- The tap is severely corroded or damaged.
- You’re experiencing leaks that you can’t fix.
The Importance of Using Quality Tap Components
When repairing or replacing tap components, it’s essential to use high-quality parts. Cheap or inferior parts may not last as long and could even damage your tap. Opt for reputable brands and ensure that the parts are compatible with your tap model. For instance, using O-rings made of a durable material like silicone can significantly extend their lifespan compared to cheaper rubber alternatives. Similarly, taps with ceramic disc cartridges are known for their durability and resistance to mineral buildup, providing smoother operation and fewer issues in the long run. Investing in quality components is a worthwhile investment that can save you time and money in the long run.
Exploring Advanced Tap Technologies for Enhanced Performance
Beyond basic repairs and maintenance, exploring advanced tap technologies can also contribute to smoother swivel action and overall performance. Some modern taps feature innovative designs that minimize friction and reduce the risk of mineral buildup. For example, certain models incorporate magnetic docking systems that allow the spout to swivel effortlessly and securely return to its original position. Others utilize advanced coatings that repel water and prevent mineral deposits from adhering to the tap’s surface. These technologies not only enhance the tap’s functionality but also contribute to its longevity and aesthetic appeal. While these advanced features may come at a higher price point, they can provide a superior user experience and reduce the need for frequent repairs.
Understanding Different Types of Kitchen Taps and Their Swivel Mechanisms
The type of kitchen tap you have can also influence its swivel mechanism and potential issues. There are several common types of kitchen taps, each with its unique design and functionality:
- Single-Lever Taps: These taps use a single lever to control both water flow and temperature. The swivel mechanism is typically located at the base of the spout.
- Dual-Handle Taps: These taps have separate handles for hot and cold water. The swivel mechanism is similar to that of single-lever taps.
- Pull-Out Taps: These taps feature a spout that can be pulled out for added reach. The swivel mechanism may be more complex due to the retractable hose.
- Instant Hot Water Taps: These taps provide instant hot water on demand. The swivel mechanism is usually similar to that of standard taps.
Understanding the specific type of tap you have can help you better diagnose and address any swivel-related issues. For example, pull-out taps may be more prone to debris accumulation in the swivel mechanism due to the retractable hose, while instant hot water taps may require special care when disassembling due to the electrical components.
Troubleshooting Leaks After Repairing a Stiff Tap Handle
Sometimes, even after successfully freeing a stuck tap handle, you might encounter leaks. Leaks are a common issue that can arise after disassembling and reassembling a tap. Here are some potential causes and solutions:
- Improperly Seated O-Rings: Ensure that all O-rings are correctly seated and lubricated with plumber’s grease.
- Loose Connections: Tighten all connections securely, but avoid overtightening.
- Damaged Cartridge: If the leak persists, the cartridge may be damaged and need replacement.
- Worn-Out Washers: Check the washers and replace them if they are worn or damaged.
If you’re unable to resolve the leak yourself, it’s best to consult a plumber to avoid further damage.
Fixing That Stubborn Tap: A Rewarding Task
Dealing with a kitchen tap handle that won’t swivel can be a frustrating experience, but with the right knowledge and tools, it’s often a problem you can solve yourself. By understanding the mechanics of your tap, identifying the common causes of stiffness, and following the step-by-step guide outlined in this article, you can restore your tap’s smooth swivel action and avoid costly plumbing repairs. Remember to prioritize preventive maintenance to keep your tap working optimally for years to come. If you have any insights or tips on fixing a stiff tap handle, share them in the comments below. Your experiences can help other homeowners tackle this common household issue.
