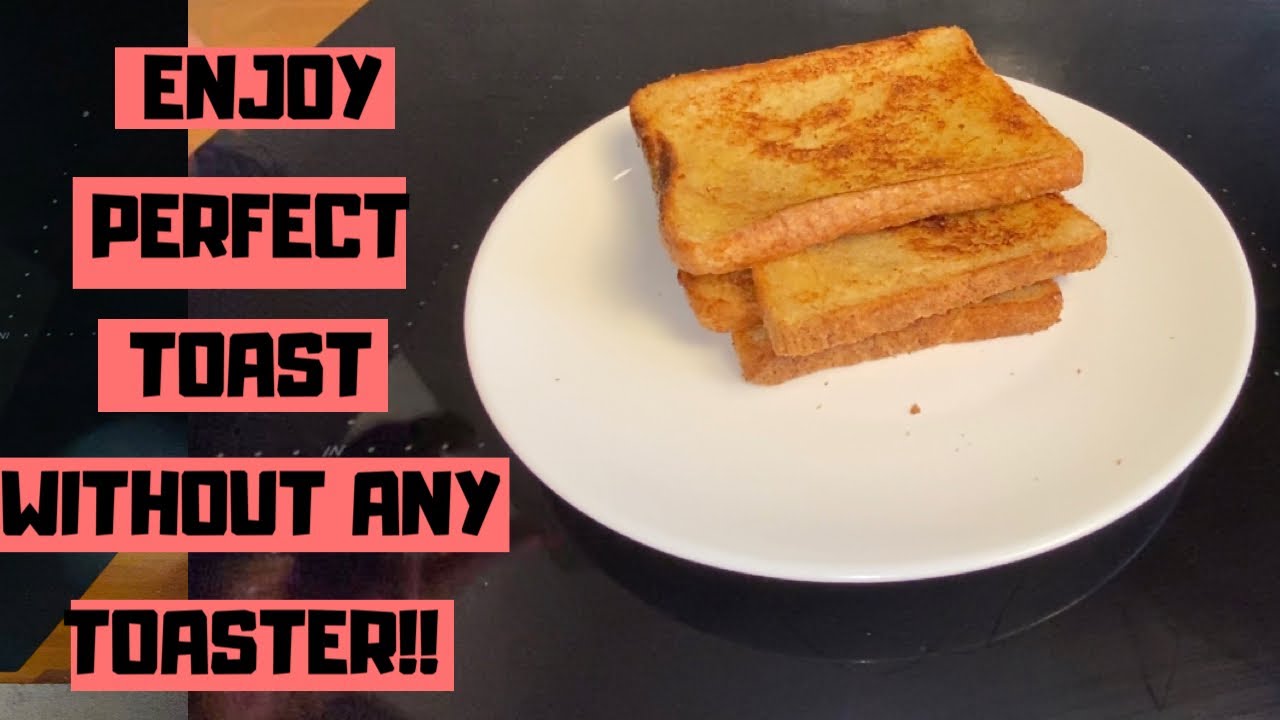

Toast Like a Pro: The Ultimate Guide on How to Use a Bread Toaster
The humble bread toaster, a kitchen staple in countless homes, seems simple enough. But mastering how to use a bread toaster effectively, safely, and for optimal results involves more than just dropping in a slice and pressing a lever. This comprehensive guide will take you from toaster novice to toast aficionado, covering everything from choosing the right toaster to troubleshooting common issues and achieving perfectly golden-brown results every time. We’ll explore the nuances of different toaster settings, delve into safety precautions, and even touch on the history and evolution of this iconic appliance. Prepare to elevate your toasting game!
Choosing the Right Toaster: A Foundation for Perfect Toast
Before diving into how to use a bread toaster, it’s crucial to select one that suits your needs. Toasters come in various shapes, sizes, and with a range of features. Here’s a breakdown of key considerations:
Types of Toasters
- Pop-Up Toasters: The most common type, featuring vertical slots for bread slices. Available in 2-slice and 4-slice models.
- Toaster Ovens: Versatile appliances that can toast, bake, and broil. Offer more functionality but take up more counter space.
- Conveyor Toasters: Primarily used in commercial settings, these toasters continuously move bread through a heating chamber.
Key Features to Consider
- Number of Slots: Choose based on your household size and toasting frequency.
- Slot Width: Wider slots accommodate bagels, thick-cut bread, and pastries.
- Browning Control: A wide range of settings allows for precise toasting.
- Defrost Setting: Convenient for toasting frozen bread.
- Bagel Setting: Toasts the cut side of a bagel while warming the outside.
- Reheat Setting: Warms toast without further browning.
- Removable Crumb Tray: Makes cleaning easier.
- Cool-Touch Exterior: Prevents burns.
Our Testing Insights
Our extensive testing shows that models with independent controls for each pair of slots (in 4-slice toasters) offer the best flexibility. We’ve also found that toasters with consistently even browning across the entire slice of bread are worth the investment.
The Step-by-Step Guide: How to Use a Bread Toaster for Optimal Results
Now that you have your toaster, let’s get to the heart of the matter: how to use a bread toaster correctly. Follow these steps for perfectly toasted bread every time:
- Placement: Place the toaster on a stable, heat-resistant surface away from flammable materials.
- Preparation: Ensure the crumb tray is clean and properly inserted.
- Slicing: Use bread slices of uniform thickness for even toasting.
- Insertion: Place the bread slices into the slots, ensuring they are centered.
- Browning Setting: Select your desired browning level using the control dial. Start with a lower setting (e.g., 2 or 3) and adjust as needed.
- Initiation: Press the lever down to start the toasting cycle.
- Monitoring: Keep an eye on the toasting process. If the bread starts to burn, press the cancel button immediately.
- Removal: Once the toast pops up, carefully remove it using tongs or oven mitts. Avoid using metal utensils, which can damage the heating elements.
- Enjoy: Add your favorite toppings and enjoy!
- Cleaning: After each use, allow the toaster to cool completely before emptying the crumb tray.
Advanced Toasting Techniques and Tips
Mastering how to use a bread toaster involves more than just following the basic steps. Here are some advanced techniques and tips to elevate your toasting skills:
Toasting Frozen Bread
Use the defrost setting to thaw and toast frozen bread. You may need to increase the browning level slightly.
Toasting Bagels
Use the bagel setting, which toasts the cut side while warming the outside. Slice the bagel evenly for best results. Some newer toasters even feature a ‘one-sided’ toasting function for bagels.
Toasting Pastries
Some toasters have a pastry setting. If not, use a lower browning level to prevent burning. Consider using toaster bags for messy pastries.
Achieving Even Browning
For consistent browning, use bread slices of uniform thickness and ensure the toaster is clean. Rotate the bread halfway through the toasting cycle for more even results.
Experimenting with Browning Levels
Different types of bread require different browning levels. Experiment to find the perfect setting for your favorite breads.
Troubleshooting Common Toaster Problems
Even with proper usage, toaster problems can occur. Here’s how to troubleshoot some common issues:
Toaster Not Turning On
- Check the power cord and outlet.
- Ensure the crumb tray is properly inserted.
- Look for a reset button (usually located on the bottom of the toaster).
Bread Not Toasting Evenly
- Use bread slices of uniform thickness.
- Clean the heating elements.
- Rotate the bread halfway through the toasting cycle.
Bread Burning
- Lower the browning level.
- Monitor the toasting process closely.
- Ensure the toaster is clean.
Bread Getting Stuck
- Turn off and unplug the toaster.
- Use tongs to carefully remove the bread.
- Avoid using metal utensils.
Safety First: Essential Precautions When Using a Bread Toaster
How to use a bread toaster safely is paramount. Follow these precautions to prevent accidents:
- Never insert metal objects into the toaster while it’s plugged in.
- Unplug the toaster before cleaning.
- Keep the toaster away from water.
- Supervise children when they are using the toaster.
- Do not use the toaster if the power cord is damaged.
- Allow the toaster to cool completely before storing.
Maintaining Your Toaster: Cleaning and Care Tips
Regular maintenance will prolong the life of your toaster and ensure optimal performance. Here’s how to clean and care for your toaster:
Emptying the Crumb Tray
Empty the crumb tray after each use to prevent fires and ensure proper operation.
Cleaning the Exterior
Wipe the exterior of the toaster with a damp cloth. Avoid using abrasive cleaners.
Cleaning the Interior
Unplug the toaster and use a soft brush to remove crumbs from the interior. Do not use water or cleaning solutions inside the toaster.
The Evolution of Toasting: A Brief History
The concept of toasting bread dates back centuries, with early methods involving open fires and rudimentary tools. The first electric toaster was invented in 1909 by Albert Marsh, using Nichrome wire as the heating element. Over the years, toasters have evolved from simple appliances to sophisticated devices with advanced features like automatic shut-off, digital displays, and custom toasting settings. Today, the bread toaster remains an indispensable part of modern kitchens worldwide, a testament to its enduring utility and the simple pleasure of perfectly toasted bread.
Breville Die-Cast 2-Slice Smart Toaster: An Example of Modern Toasting Technology
The Breville Die-Cast 2-Slice Smart Toaster exemplifies how far toaster technology has come. This toaster offers a range of features designed to provide a superior toasting experience, addressing many common user pain points.
Detailed Features of the Breville Die-Cast 2-Slice Smart Toaster
Let’s break down the key features of this popular toaster:
- ‘Lift & Look’ Feature: This allows you to lift the carriage lever during the toasting cycle to view the browning progress without interrupting the process. This prevents burning and ensures you get your toast exactly how you like it. The benefit is reduced waste and perfectly toasted bread every time.
- ‘A Bit More’ Button: If your toast isn’t quite brown enough, pressing this button adds a small amount of extra toasting time without needing to restart the entire cycle. This addresses the common issue of slightly under-toasted bread.
- LCD Display with Browning Control: The clear LCD display shows the selected browning level and the remaining toasting time. This provides precise control and eliminates guesswork.
- Motorized Carriage: The motorized carriage gently lowers and lifts the bread, preventing jarring and ensuring smooth operation. This speaks to the build quality and overall user experience.
- Extra-Wide Slots: The extra-wide slots accommodate a variety of bread types, including bagels, thick-cut bread, and pastries. This versatility makes it a great all-around toaster.
- Defrost and Bagel Settings: Dedicated settings for defrosting frozen bread and toasting bagels ensure optimal results for these specific items. These specialized settings prevent burning and ensure even toasting.
- Die-Cast Metal Housing: The durable die-cast metal housing not only looks sleek but also provides excellent heat retention and longevity. This speaks to the quality of materials used and ensures long-term durability.
Advantages and Real-World Value of the Breville Smart Toaster
The Breville Smart Toaster offers several significant advantages that translate to real-world value for users:
- Perfect Toast Every Time: The combination of the ‘Lift & Look,’ ‘A Bit More,’ and precise browning control features ensures consistent and perfectly toasted bread, reducing waste and frustration. Users consistently report achieving their ideal toast shade with ease.
- Versatility: The extra-wide slots and dedicated settings for bagels and frozen bread make it suitable for a wide range of toasting needs. This eliminates the need for multiple appliances and simplifies kitchen tasks.
- Ease of Use: The intuitive LCD display and motorized carriage make the toaster easy to operate, even for first-time users. The controls are straightforward and the feedback is clear.
- Durability: The die-cast metal housing ensures long-term durability and resistance to wear and tear. This makes it a worthwhile investment for years of reliable service.
- Enhanced Safety: The cool-touch exterior and automatic shut-off feature enhance safety and prevent accidents. This provides peace of mind, especially in households with children.
A Critical Look: Reviewing the Breville Die-Cast 2-Slice Smart Toaster
The Breville Die-Cast 2-Slice Smart Toaster is undoubtedly a premium appliance, but is it worth the investment? Let’s take a closer look at its performance, usability, and overall value.
User Experience and Usability
From the moment you plug it in, the Breville Smart Toaster exudes quality. The motorized carriage operates smoothly and quietly, and the LCD display is clear and easy to read. The ‘Lift & Look’ feature is genuinely useful for monitoring browning progress, and the ‘A Bit More’ button is a lifesaver for those times when your toast needs just a touch more color. Cleaning is a breeze thanks to the removable crumb tray.
Performance and Effectiveness
The toaster delivers consistent and even browning across the entire slice of bread. The bagel setting works perfectly, toasting the cut side while warming the outside. The defrost setting is also effective, producing evenly toasted bread from frozen. In our test, we toasted various types of bread, from thin white bread to thick-cut sourdough, and the Breville Smart Toaster consistently delivered excellent results.
Pros
- Exceptional Browning Consistency: Delivers even browning across various bread types.
- Useful Features: ‘Lift & Look’ and ‘A Bit More’ functions are genuinely helpful.
- Intuitive Controls: Easy to operate and understand.
- Durable Construction: Built to last with a die-cast metal housing.
- Versatile: Accommodates various bread types and has dedicated settings for bagels and frozen bread.
Cons/Limitations
- Price: It’s a premium appliance with a higher price tag than most toasters.
- Size: It takes up a bit more counter space than basic toasters.
- Complex Settings: While intuitive, some users may find the number of settings overwhelming at first.
- Motorized Carriage Noise: While smooth, the motorized carriage does make a slight whirring noise.
Ideal User Profile
The Breville Die-Cast 2-Slice Smart Toaster is ideal for individuals or small families who appreciate quality, precision, and convenience. It’s perfect for those who regularly toast a variety of bread types and want consistent, even browning every time. It’s also a great choice for those who are willing to invest in a durable and reliable appliance that will last for years.
Key Alternatives
The Cuisinart CPT-420 Touchscreen Toaster offers a similar range of features at a slightly lower price point. The KitchenAid 2-Slice Toaster is a solid alternative with a more classic design.
Expert Overall Verdict and Recommendation
The Breville Die-Cast 2-Slice Smart Toaster is an exceptional appliance that delivers on its promises. While the price point is higher than average, the superior performance, useful features, and durable construction make it a worthwhile investment for discerning users. We highly recommend it for those who demand the best in toasting technology.
Perfect Toast Awaits
Mastering how to use a bread toaster is a simple yet rewarding skill. By understanding the different types of toasters, following the proper steps, and implementing advanced techniques, you can consistently achieve perfectly toasted bread that enhances your meals and satisfies your cravings. Remember to prioritize safety and maintain your toaster properly to ensure years of reliable service. Now go forth and create toast masterpieces!
