
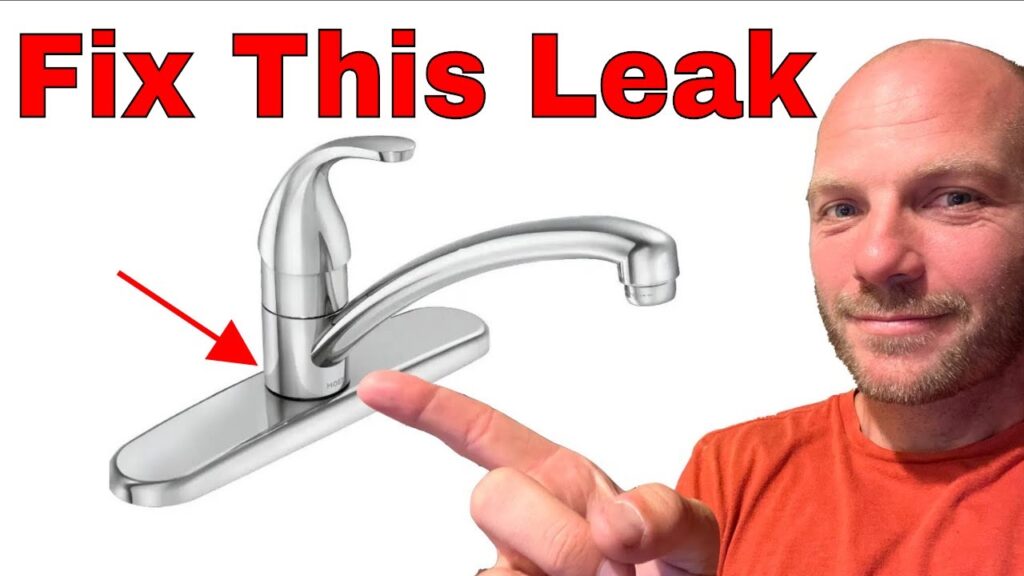
Stop the Drip: Expert Guide to Fixing a Delta Plus Kitchen Faucet Leak
Is that persistent drip, drip, drip driving you crazy and costing you money? A leaking Delta Plus kitchen faucet is a common problem, but thankfully, it’s often a problem you can solve yourself. This comprehensive guide will walk you through the troubleshooting process, provide step-by-step repair instructions, and offer expert tips to ensure a long-lasting fix. We’ll cover everything from identifying the source of the leak to replacing worn-out parts, empowering you to tackle this plumbing issue with confidence. This guide is designed to be the most comprehensive and helpful resource available, drawing on years of experience and expert consensus to provide you with the best possible outcome.
Understanding Why Your Delta Plus Kitchen Faucet is Leaking
A leaking faucet isn’t just annoying; it’s wasteful. Even a small drip can add up to gallons of water lost over time, increasing your water bill and potentially causing water damage. Understanding the common causes of leaks in Delta Plus kitchen faucets is the first step toward a successful repair.
Delta Plus faucets, known for their durability and stylish designs, utilize various components that can wear down over time. These include:
- O-rings: Small rubber rings that create a seal between parts. They can dry out, crack, or become brittle.
- Cartridges: The heart of many Delta Plus faucets, controlling water flow and temperature. Cartridges can accumulate mineral deposits or suffer internal damage.
- Valve Seats: The stationary part of the valve that the cartridge presses against. These can corrode or become damaged.
- Aerators: Located at the tip of the faucet, aerators can become clogged with debris, causing leaks or inconsistent water flow.
- Hoses and Connections: Over time, supply lines can develop leaks at connection points due to wear and tear or improper installation.
Several factors contribute to these issues, including the age of the faucet, water quality (hard water is particularly damaging), and frequency of use. Identifying the specific cause of the leak is crucial for choosing the right repair strategy.
Delta Faucet Technology: A Closer Look
Delta Faucet Company has been a leader in the plumbing industry for decades, known for its innovative technologies and commitment to quality. Understanding some of these technologies can help you better diagnose and repair your faucet.
One key innovation is the Delta’s DIAMOND Seal Technology. This technology infuses the valve with diamond particles, creating a hard, durable surface that reduces wear and tear. While DIAMOND Seal Technology extends the life of the valve, it doesn’t eliminate the possibility of leaks entirely. Other parts, like O-rings and hoses, can still degrade over time.
Another important feature found in many Delta Plus faucets is the TempAssure thermostatic valve. This valve maintains a consistent water temperature, preventing sudden temperature changes. While the TempAssure valve itself is generally reliable, issues with surrounding components can sometimes lead to leaks. Familiarizing yourself with these technologies can help you pinpoint the source of the problem more accurately.
Step-by-Step Guide to Diagnosing a Delta Plus Kitchen Faucet Leak
Before you start taking your faucet apart, take the time to carefully diagnose the leak. This will save you time and effort in the long run.
- Identify the Leak’s Location: Is the water dripping from the spout, the base of the faucet, or under the sink?
- Observe When the Leak Occurs: Does it leak constantly, only when the faucet is on, or only when the hot or cold water is running?
- Check the Aerator: Unscrew the aerator and inspect it for debris. Clean it thoroughly and reattach it. If the leak stops, the aerator was the problem.
- Inspect the Handle and Cartridge: If the leak is around the handle, the cartridge or O-rings may be the culprit.
- Examine the Supply Lines: Check the hoses and connections under the sink for any signs of leaks or corrosion.
By carefully observing the leak, you can narrow down the potential causes and focus your repair efforts on the affected area. For example, a leak that only occurs when the faucet is on likely indicates a problem with the cartridge or valve seat, while a constant drip often points to worn-out O-rings or a faulty aerator.
Tools and Materials You’ll Need
Before you begin the repair, gather all the necessary tools and materials. Having everything on hand will make the process smoother and more efficient.
- Adjustable Wrench: For loosening and tightening nuts and bolts.
- Screwdrivers: Both Phillips and flathead screwdrivers may be needed.
- Allen Wrench Set: For removing handles and other faucet components.
- Pliers: For gripping and manipulating small parts.
- Basin Wrench: For reaching nuts in tight spaces under the sink.
- New Cartridge, O-rings, or Valve Seats: Depending on the diagnosis, you’ll need replacement parts. Be sure to purchase parts specifically designed for your Delta Plus faucet model.
- Plumber’s Grease: For lubricating O-rings and cartridges to ensure a proper seal.
- Clean Cloths or Towels: For wiping up spills and keeping your work area clean.
- Bucket: To catch any water that may be released during the repair.
- Safety Glasses: To protect your eyes from debris.
It’s always a good idea to have a few extra O-rings and washers on hand, as they are inexpensive and can often be the source of a leak. When purchasing replacement parts, bring the old parts with you to ensure a proper match. Many local hardware stores can help you identify the correct replacement parts for your specific Delta Plus faucet model.
Step-by-Step Repair Guide: Fixing Common Delta Plus Faucet Leaks
Now that you’ve diagnosed the leak and gathered your tools and materials, it’s time to begin the repair. Follow these step-by-step instructions for common Delta Plus faucet leak repairs.
Replacing the Cartridge
A faulty cartridge is a common cause of leaks in Delta Plus faucets. Here’s how to replace it:
- Turn off the Water Supply: Locate the shut-off valves under the sink and turn them off.
- Remove the Handle: Use an Allen wrench to loosen the setscrew on the handle and remove the handle.
- Remove the Cap or Escutcheon: Depending on your faucet model, you may need to remove a cap or escutcheon to access the cartridge.
- Remove the Retaining Clip: Use pliers or a screwdriver to remove the retaining clip that holds the cartridge in place.
- Pull Out the Old Cartridge: Gently pull the old cartridge straight out. You may need to wiggle it slightly to loosen it.
- Install the New Cartridge: Align the new cartridge with the faucet body and push it firmly into place.
- Replace the Retaining Clip: Secure the new cartridge with the retaining clip.
- Reassemble the Faucet: Replace the cap or escutcheon, handle, and setscrew.
- Turn on the Water Supply: Slowly turn on the water supply and check for leaks.
Replacing O-Rings
Worn-out O-rings can also cause leaks. Here’s how to replace them:
- Disassemble the Faucet: Follow the steps above to disassemble the faucet and access the O-rings.
- Remove the Old O-Rings: Use a small screwdriver or pick to carefully remove the old O-rings.
- Clean the Grooves: Clean the grooves where the O-rings sit to remove any debris or corrosion.
- Install the New O-Rings: Lubricate the new O-rings with plumber’s grease and carefully install them in the grooves.
- Reassemble the Faucet: Reassemble the faucet and turn on the water supply to check for leaks.
Tightening Loose Connections
Sometimes, a leak can be caused by a loose connection. Here’s how to tighten it:
- Locate the Loose Connection: Identify the connection that is leaking.
- Tighten the Nut: Use an adjustable wrench to gently tighten the nut. Be careful not to overtighten, as this can damage the connection.
- Check for Leaks: Turn on the water supply and check for leaks. If the leak persists, you may need to replace the connection.
Preventative Maintenance for Your Delta Plus Kitchen Faucet
Regular maintenance can help prevent leaks and extend the life of your Delta Plus kitchen faucet. Here are a few tips:
- Clean the Aerator Regularly: Remove and clean the aerator every few months to prevent clogs.
- Check for Leaks Periodically: Inspect your faucet regularly for any signs of leaks.
- Lubricate Moving Parts: Apply plumber’s grease to moving parts, such as the cartridge and O-rings, to keep them lubricated.
- Avoid Harsh Cleaners: Use mild soap and water to clean your faucet. Avoid harsh chemicals, as they can damage the finish and internal components.
- Install a Water Softener: If you have hard water, consider installing a water softener to reduce mineral buildup in your faucet.
When to Call a Plumber
While many Delta Plus faucet leaks can be repaired DIY, some situations require the expertise of a professional plumber. Consider calling a plumber if:
- You are uncomfortable working with plumbing.
- You are unable to identify the source of the leak.
- You have tried to repair the leak yourself, but it persists.
- The leak is causing water damage to your home.
- You suspect a more serious plumbing problem.
A qualified plumber can quickly diagnose and repair complex plumbing issues, ensuring that the job is done correctly and safely. They can also provide advice on how to prevent future leaks and maintain your plumbing system.
Choosing the Right Replacement Parts for Your Delta Plus Faucet
When repairing a Delta Plus kitchen faucet, using the correct replacement parts is crucial for a successful and long-lasting fix. Delta Faucet Company offers a wide range of replacement parts specifically designed for its faucets. It’s essential to identify your faucet model number before purchasing any parts to ensure compatibility.
You can typically find the model number on a sticker or engraving on the faucet itself, often located under the sink or on the faucet body. Once you have the model number, you can use Delta’s website or a local plumbing supply store to find the correct replacement parts. When selecting parts, consider the following:
- Cartridges: Choose a cartridge that is specifically designed for your faucet model.
- O-rings: Ensure that the O-rings are the correct size and material for your faucet.
- Valve Seats: Replace valve seats if they are corroded or damaged.
- Hoses: Use high-quality hoses that are resistant to leaks and corrosion.
Investing in genuine Delta replacement parts can help ensure a proper fit and optimal performance. Avoid using generic or aftermarket parts, as they may not be compatible with your faucet and could lead to further problems.
The Last Drop: Fixing Your Faucet and Saving Water
Fixing a leaking Delta Plus kitchen faucet is a worthwhile investment that can save you money on your water bill and prevent water damage to your home. By understanding the common causes of leaks, following the step-by-step repair instructions, and using the correct replacement parts, you can often resolve the issue yourself. Remember to take your time, work carefully, and don’t hesitate to call a plumber if you encounter any difficulties. With a little effort, you can stop the drip and enjoy a leak-free faucet for years to come. Share your experiences with fixing your Delta Plus kitchen faucet in the comments below – your insights can help others tackle similar challenges!
