
Stop the Drip: Expert Guide to Finding Leaks in Your One-Handle Kitchen Faucet
A dripping kitchen faucet is more than just an annoyance; it’s a waste of water and money. If you’re dealing with a persistent drip from your one-handle kitchen sink faucet, you’ve come to the right place. This comprehensive guide will walk you through the process of diagnosing and pinpointing the source of the leak. We’ll cover everything from common culprits to step-by-step troubleshooting, ensuring you can confidently tackle this plumbing problem. We aim to provide a resource that is more thorough, more helpful, and ultimately more successful than anything else you’ll find online. This isn’t just about fixing a leak; it’s about empowering you with the knowledge and skills to maintain your home and save money.
Understanding the Anatomy of a One-Handle Kitchen Faucet
Before diving into leak detection, it’s crucial to understand the inner workings of your faucet. A one-handle kitchen faucet typically uses a cartridge, ball, or ceramic disc system to control water flow and temperature. Each system has its own potential failure points, and knowing which type you have will significantly simplify the troubleshooting process.
- Cartridge Faucets: These are among the most common types. They use a cylindrical cartridge with O-rings and seals that can wear out over time.
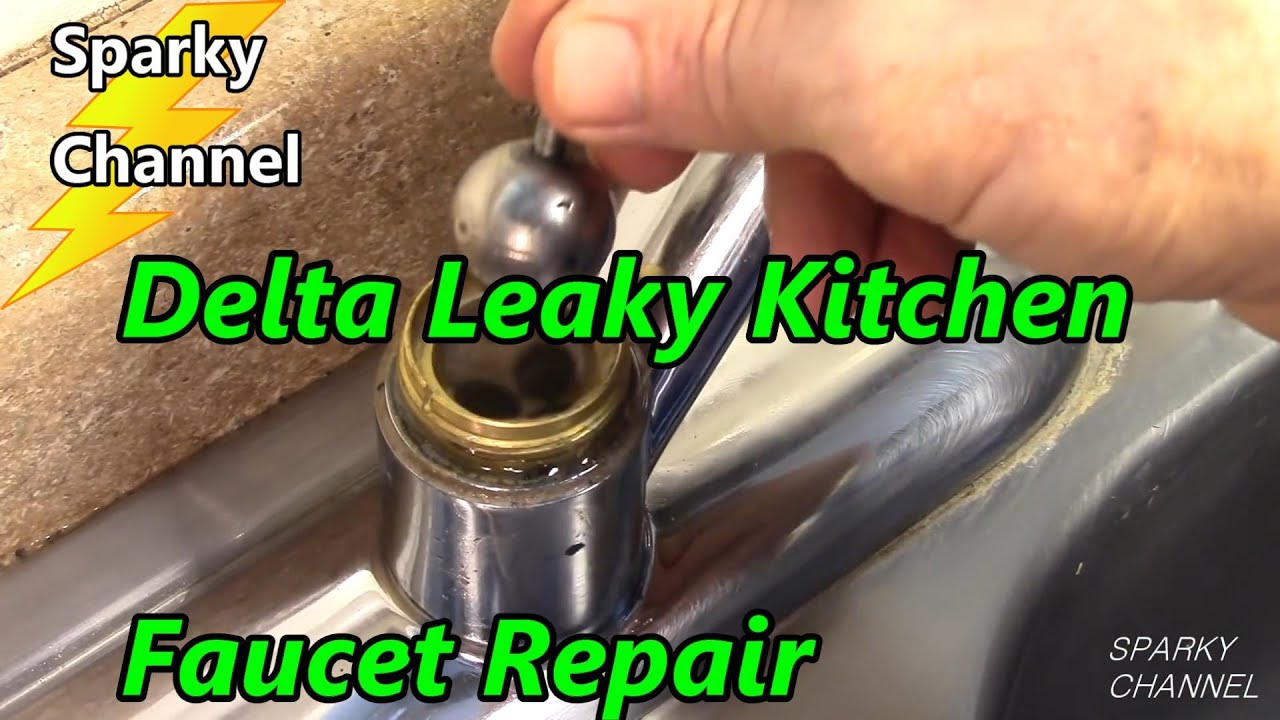
- Ball Faucets: Characterized by a slotted ball and several springs and seats, these faucets have more parts, making them slightly more prone to leaks.
- Ceramic Disc Faucets: These are generally the most durable and leak-resistant, using two ceramic discs that slide against each other. However, they can still develop leaks due to hard water deposits or damaged seals.
Identifying your faucet type is usually straightforward. Cartridge faucets have a smooth, cylindrical handle movement. Ball faucets have a more articulated, sometimes stiffer feel, and ceramic disc faucets have a very smooth, precise feel. Understanding this will help you later when you need to buy replacement parts.
Essential Tools for Leak Detection and Repair
Having the right tools on hand will make the entire process smoother and more efficient. Here’s a list of essentials:
- Basin Wrench: For loosening and tightening connections under the sink.
- Adjustable Wrench: For various nuts and fittings.
- Screwdrivers (Phillips and Flathead): To remove handles and access internal components.
- Pliers: For gripping and manipulating small parts.
- Penetrating Oil: To loosen stubborn nuts and bolts.
- Plumber’s Grease: To lubricate O-rings and seals during reassembly.
- New O-rings and Seals: Have a variety on hand, or better yet, a faucet repair kit specific to your faucet model.
- Clean Rags or Towels: To clean up spills and dry parts.
- Flashlight or Headlamp: To illuminate dark areas under the sink.
Before you start, always shut off the water supply to the faucet. This is usually done via shut-off valves located under the sink. If you don’t have shut-off valves, you’ll need to turn off the main water supply to your house.
Pinpointing the Source: A Step-by-Step Diagnostic Approach
Finding the exact location of the leak is the first and most crucial step. Start by carefully observing the faucet while it’s running and when it’s turned off. Look for these common leak points:
1. Leaks Around the Base of the Faucet
Cause: This type of leak often indicates a problem with the O-ring or sealant between the faucet base and the sink. Over time, this seal can dry out, crack, or become dislodged.
Solution:
- Turn off the water supply.
- Disconnect the water supply lines from the faucet.
- Loosen the mounting nuts that secure the faucet to the sink.
- Carefully lift the faucet off the sink.
- Clean the base of the faucet and the sink surface.
- Apply a new bead of plumber’s putty or silicone sealant around the base of the faucet.
- Reinstall the faucet, tighten the mounting nuts, and reconnect the water supply lines.
2. Leaks From the Handle Area
Cause: Leaks around the handle usually point to worn-out O-rings or seals within the faucet cartridge, ball, or ceramic disc assembly. Mineral deposits can also contribute to this problem.
Solution:
- Turn off the water supply.
- Remove the handle (usually held in place by a screw or set screw).
- Depending on your faucet type, remove the cartridge, ball, or ceramic disc assembly.
- Inspect the O-rings and seals for damage. Replace any that are cracked, worn, or flattened.
- Clean the faucet body and the internal components.
- Lubricate the new O-rings and seals with plumber’s grease.
- Reassemble the faucet and reinstall the handle.
3. Leaks From the Spout
Cause: A dripping spout is often caused by a worn-out valve seat or a damaged cartridge, ball, or ceramic disc. These components control the flow of water through the faucet, and when they fail, water can leak past them.
Solution:
- Turn off the water supply.
- Remove the handle and access the faucet’s internal components.
- Inspect the valve seat (if applicable) and the cartridge, ball, or ceramic disc for damage.
- Replace any damaged components.
- Clean the faucet body and the internal components.
- Lubricate the new parts with plumber’s grease.
- Reassemble the faucet and reinstall the handle.
4. Leaks From the Sprayer Hose Connection
Cause: If your faucet has a sprayer, the hose connection is a common leak point. The O-rings or washers in this connection can degrade over time, leading to leaks.
Solution:
- Turn off the water supply.
- Disconnect the sprayer hose from the faucet.
- Inspect the O-rings or washers in the connection. Replace any that are damaged.
- Clean the connection points.
- Reassemble the sprayer hose and tighten the connection.
5. Leaks From the Supply Lines
Cause: The supply lines that connect the faucet to the water supply valves can leak at the connections if the fittings are loose or the Teflon tape is old.
Solution:
- Turn off the water supply.
- Tighten the connections at both ends of the supply lines.
- If the leaks persist, disconnect the supply lines and inspect the fittings.
- Apply new Teflon tape to the threads of the fittings.
- Reconnect the supply lines and tighten the connections.
When to Call a Professional Plumber
While many faucet leaks can be fixed with DIY repairs, there are situations where it’s best to call a professional plumber. If you’re uncomfortable working with plumbing, if you can’t identify the source of the leak, or if you’ve tried multiple repairs without success, a plumber can diagnose the problem and provide a reliable solution. Ignoring a persistent leak can lead to more serious problems, such as water damage to your cabinets and floors.
Preventative Maintenance for a Leak-Free Faucet
Preventing leaks is always better than fixing them. Here are some tips for maintaining your faucet and preventing leaks:
- Regular Cleaning: Clean your faucet regularly to remove mineral deposits and grime.
- Proper Lubrication: Lubricate the O-rings and seals with plumber’s grease during installation and maintenance.
- Avoid Over-Tightening: Over-tightening nuts and bolts can damage the faucet and cause leaks.
- Replace Worn Parts: Replace worn O-rings, seals, and cartridges promptly.
- Water Softener: If you have hard water, consider installing a water softener to reduce mineral buildup.
Understanding Faucet Cartridge Types and Replacement
The cartridge is the heart of many single-handle faucets, and knowing how to identify and replace it is crucial for effective leak repair. There are several common cartridge types, including:
- Moen Cartridges: Known for their durability and distinctive design, Moen cartridges often require a special removal tool.
- Delta Cartridges: Delta cartridges are another popular type, often featuring a diamond-shaped design.
- Generic Cartridges: These cartridges are designed to fit a variety of faucet brands and models.
When replacing a cartridge, it’s essential to identify the correct type and size. Take the old cartridge with you to the hardware store to ensure you get the right replacement. The replacement process typically involves removing the handle, unscrewing the retaining nut, and pulling out the old cartridge. Before installing the new cartridge, clean the faucet body and lubricate the new cartridge with plumber’s grease.
The Role of Water Pressure in Faucet Leaks
Excessive water pressure can put a strain on your faucet’s internal components, leading to premature wear and leaks. Ideally, your home’s water pressure should be between 40 and 60 PSI. You can check your water pressure with a pressure gauge that attaches to an outdoor faucet. If your water pressure is consistently above 60 PSI, consider installing a pressure regulator to protect your plumbing system.
Navigating the World of Faucet Repair Kits
Faucet repair kits can be a convenient and cost-effective way to fix leaks. These kits typically include a variety of O-rings, seals, and other small parts that are commonly needed for faucet repairs. When choosing a repair kit, make sure it’s compatible with your faucet brand and model. Some kits are designed for specific faucet types, such as cartridge faucets or ball faucets. Having a well-stocked repair kit on hand can save you time and money in the long run.
Expert Insights on Faucet Materials and Longevity
The materials used in your faucet’s construction can significantly impact its longevity and resistance to leaks. Faucets made from solid brass or stainless steel are generally more durable and less prone to corrosion than those made from plastic or pot metal. Ceramic disc valves are known for their exceptional durability and resistance to wear. When choosing a new faucet, consider investing in a high-quality model made from durable materials to minimize the risk of leaks and repairs.
Understanding the Environmental Impact of Faucet Leaks
A dripping faucet may seem like a minor problem, but it can waste a significant amount of water over time. According to the EPA, household leaks can waste nearly 1 trillion gallons of water annually nationwide. Not only does this waste water, but it also wastes energy used to heat the water. By fixing faucet leaks promptly, you can conserve water, save money on your water bill, and reduce your environmental footprint. Consider installing low-flow faucets and showerheads to further reduce your water consumption.
Finding the Right Solution for Your Leaky Faucet
Ultimately, successfully resolving a leaky one-handle kitchen sink faucet involves a combination of careful observation, accurate diagnosis, and skillful repair. By understanding the inner workings of your faucet, having the right tools, and following a systematic troubleshooting approach, you can confidently tackle this common plumbing problem. Remember, preventative maintenance is key to preventing future leaks. If you’re unsure about any aspect of the repair process, don’t hesitate to seek the help of a qualified plumber. With the right knowledge and approach, you can stop the drip and save water, money, and aggravation.
