Shower Head with Separate Handheld Changeover Not Working Properly? Here’s How to Fix It
Is your shower head with separate handheld changeover sputtering, leaking, or failing to switch properly? You’re not alone. This common plumbing problem can be frustrating, but with a systematic approach, you can often diagnose and fix it yourself. This comprehensive guide will walk you through the most common causes of a shower head with separate handheld changeover not working properly, providing expert troubleshooting tips and step-by-step instructions to get your shower back in perfect working order. We’ll cover everything from simple clogs to more complex valve issues, ensuring you have the knowledge and confidence to tackle the problem.
Understanding the Anatomy of Your Shower Head Changeover
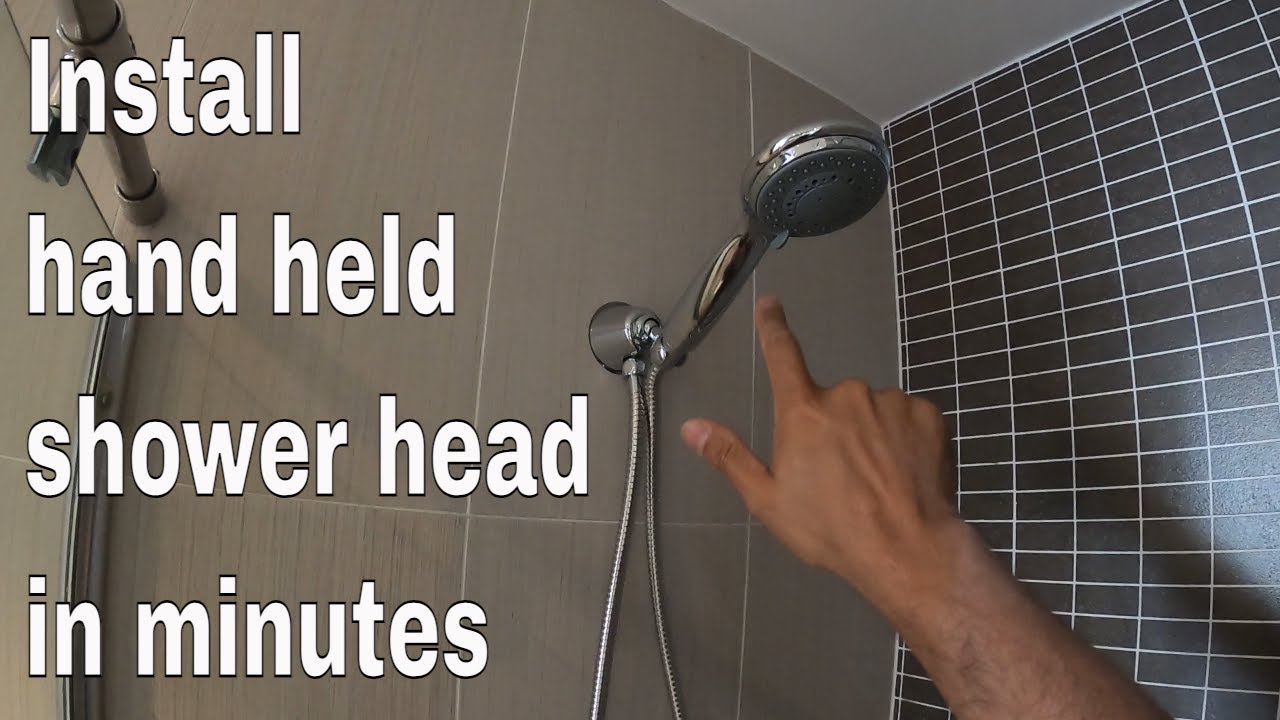
Before diving into troubleshooting, it’s helpful to understand how a shower head with a separate handheld changeover works. These systems typically consist of a fixed shower head, a handheld shower head, a diverter valve (the changeover mechanism), and connecting hoses and pipes. The diverter valve is the key component, responsible for directing water flow either to the fixed shower head, the handheld shower head, or sometimes both simultaneously. Understanding this basic anatomy is crucial for pinpointing the source of the problem.
The diverter valve itself can be one of several types. Some are simple mechanical valves with a lever or knob, while others are more complex pressure-balanced valves. The specific type of valve can influence the troubleshooting steps. For example, a pressure-balanced valve might be more susceptible to issues caused by inconsistent water pressure.
Common Causes of a Malfunctioning Shower Head Changeover
Several factors can contribute to a shower head with separate handheld changeover not working properly. These include:
- Mineral Buildup: Hard water contains minerals like calcium and magnesium that can accumulate inside the shower head, diverter valve, and hoses, restricting water flow and causing the changeover mechanism to stick or fail.
- Clogs: Debris such as sediment, rust, or even small pieces of Teflon tape can clog the shower head or diverter valve, preventing proper water flow.
- Worn or Damaged Diverter Valve: Over time, the internal components of the diverter valve can wear out or become damaged, leading to leaks or a failure to switch between shower heads.
- Low Water Pressure: Insufficient water pressure can prevent the diverter valve from functioning correctly, especially in pressure-balanced systems.
- Kinked or Damaged Hoses: A kinked or damaged hose can restrict water flow to the handheld shower head, making it seem like the changeover isn’t working.
- O-Ring and Seal Deterioration: The O-rings and seals inside the diverter valve can dry out and crack over time, causing leaks and affecting the valve’s ability to properly direct water flow.
Troubleshooting Steps: Diagnosing the Problem
Follow these steps to systematically diagnose the issue:
- Check Water Pressure: Ensure that your home’s water pressure is adequate. If other faucets or fixtures have low pressure, the problem may lie with your home’s plumbing system, not just the shower head.
- Inspect the Shower Head: Remove both the fixed and handheld shower heads and inspect them for mineral buildup or clogs. Clean them thoroughly using a descaling solution or vinegar.
- Examine the Hoses: Check the hoses connecting the shower head to the diverter valve for kinks, cracks, or damage. Replace any damaged hoses.
- Test the Diverter Valve: With the shower heads removed, operate the diverter valve and observe the water flow. Does water flow freely from both outlets? Does the valve switch smoothly between the two? If not, the diverter valve is likely the problem.
- Look for Leaks: Carefully inspect the diverter valve and surrounding connections for any signs of leaks. Leaks can indicate worn O-rings or seals.
Step-by-Step Repair Guide: Fixing the Changeover
Once you’ve identified the problem, you can proceed with the repair. Here are some common fixes:
Cleaning Mineral Buildup
Mineral buildup is a common culprit. To clean it:
- Remove the Shower Head: Detach both the fixed and handheld shower heads.
- Soak in Vinegar: Submerge the shower heads in a solution of equal parts white vinegar and water for several hours or overnight.
- Scrub Away Deposits: Use a toothbrush or small brush to scrub away any remaining mineral deposits.
- Rinse Thoroughly: Rinse the shower heads thoroughly with clean water before reattaching them.
- Clean the Diverter Valve: You can also try soaking the diverter valve in vinegar. Depending on the design, you may be able to remove the valve cartridge for easier cleaning.
Replacing a Worn Diverter Valve
If the diverter valve is damaged or worn, it may need to be replaced:
- Turn Off the Water Supply: Shut off the water supply to the shower.
- Remove the Old Valve: Carefully remove the old diverter valve. This may involve unscrewing it from the shower arm or disconnecting it from the water pipes.
- Install the New Valve: Install the new diverter valve, ensuring that it is properly aligned and securely connected. Use Teflon tape on the threads to prevent leaks.
- Turn On the Water Supply: Slowly turn on the water supply and check for leaks.
Replacing O-Rings and Seals
If the diverter valve is leaking, replacing the O-rings and seals can often solve the problem:
- Disassemble the Valve: Carefully disassemble the diverter valve to access the O-rings and seals.
- Remove the Old O-Rings: Remove the old O-rings and seals, noting their size and position.
- Install New O-Rings: Install new O-rings and seals of the correct size and material. Lubricate them with silicone grease to ensure a good seal.
- Reassemble the Valve: Reassemble the diverter valve and test for leaks.
Choosing the Right Replacement Parts
When replacing parts, it’s crucial to choose the correct replacements. Here’s what to consider:
- Compatibility: Ensure that the replacement parts are compatible with your specific shower head and diverter valve model.
- Quality: Choose high-quality replacement parts from reputable manufacturers to ensure durability and longevity.
- Material: Consider the material of the replacement parts. Brass or stainless steel components are generally more durable than plastic ones.
Preventative Maintenance: Keeping Your Shower Head Working Smoothly
Regular maintenance can help prevent future problems with your shower head changeover:
- Regular Cleaning: Clean your shower head and diverter valve regularly to remove mineral buildup.
- Inspect for Leaks: Check for leaks around the shower head and diverter valve periodically.
- Replace Worn Parts: Replace worn O-rings and seals promptly to prevent leaks and valve failure.
- Water Softener: Consider installing a water softener to reduce mineral buildup in your plumbing system.
The Importance of Water Pressure for Proper Function
Adequate water pressure is essential for the proper functioning of a shower head with separate handheld changeover. Low water pressure can prevent the diverter valve from switching correctly, resulting in weak or inconsistent water flow. According to plumbing experts, a typical home should have water pressure between 40 and 60 PSI (pounds per square inch). If your water pressure is consistently below this range, you may need to consult a plumber to diagnose and address the underlying issue.
In our experience, many homeowners overlook the importance of water pressure when troubleshooting shower head problems. A simple water pressure test can often reveal the root cause of the issue. You can purchase a water pressure gauge at most hardware stores and easily test your home’s water pressure yourself.
Shower Head Innovations: Enhancing Your Shower Experience
The shower head industry is constantly evolving, with new innovations designed to enhance the showering experience. Some of the latest features include:
- Rainfall Shower Heads: These large, overhead shower heads provide a gentle, rainfall-like shower experience.
- Adjustable Spray Patterns: Many shower heads offer a variety of spray patterns, from a gentle mist to a powerful massage.
- Water-Saving Technology: Low-flow shower heads can help conserve water without sacrificing shower performance.
- Bluetooth Speakers: Some shower heads even come equipped with built-in Bluetooth speakers, allowing you to listen to music or podcasts while you shower.
A Deep Dive into Diverter Valve Technology
The diverter valve is the heart of any shower system with a separate handheld. These valves come in a variety of designs, each with its own advantages and disadvantages. Some common types include:
- Two-Way Diverter Valves: These valves simply switch the water flow between the fixed shower head and the handheld.
- Three-Way Diverter Valves: These valves allow you to use either the fixed shower head, the handheld, or both simultaneously.
- Pressure-Balanced Diverter Valves: These valves maintain a consistent water temperature even when there are fluctuations in water pressure.
- Thermostatic Diverter Valves: These valves allow you to set a specific water temperature, ensuring a consistent and comfortable shower experience.
Our Expert Recommendations for Shower Head Maintenance
Maintaining a shower head with a separate handheld changeover can seem daunting, but with a few simple steps, you can keep it working smoothly for years to come. Here are our top recommendations:
- Clean Regularly: Make it a habit to clean your shower head and diverter valve at least once a month.
- Use a Water Filter: Installing a water filter can help remove sediment and minerals from your water, reducing the risk of clogs and buildup.
- Inspect Periodically: Take a few minutes each month to inspect your shower head and diverter valve for leaks or damage.
- Replace When Needed: Don’t wait until your shower head is completely broken to replace it. Replacing it proactively can prevent more serious plumbing problems down the road.
Achieving a Perfect Shower Experience
Troubleshooting a shower head with a separate handheld changeover that’s not working properly can be frustrating, but by following these steps, you can often diagnose and fix the problem yourself. Remember to start with the simplest solutions first, such as cleaning the shower head and checking for kinks in the hose. If those don’t work, you may need to replace the diverter valve or other components. With a little patience and effort, you can restore your shower to its full functionality and enjoy a relaxing and refreshing shower experience. If the problem persists, it’s always best to consult a qualified plumber for professional assistance.
