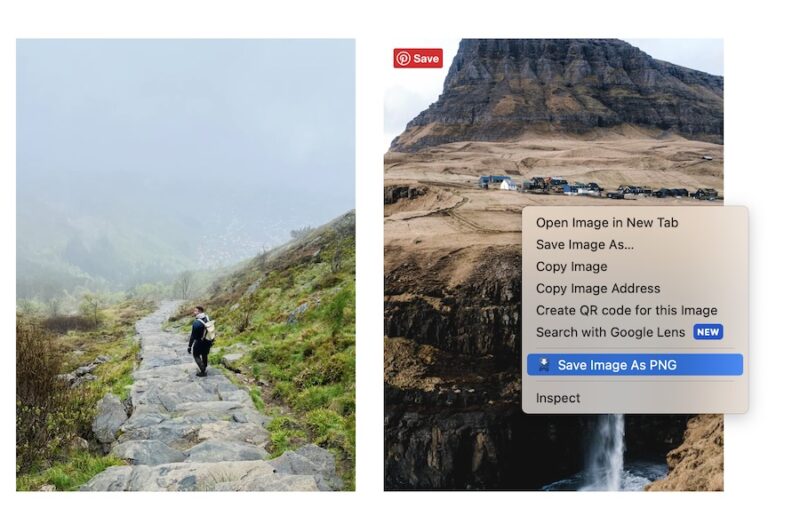
Mastering the ‘Save As PNG Extension’: A Comprehensive Guide
Ever struggled with saving images in the right format? The ‘save as png extension’ process is a cornerstone of digital image handling, impacting everything from website performance to the clarity of your cherished photos. This comprehensive guide will delve into the intricacies of the PNG format, providing you with the knowledge and skills to confidently navigate the world of image saving. We’ll explore the what, why, and how of the ‘save as png extension,’ empowering you to make informed decisions and optimize your images for any purpose.
Understanding the Depths of the PNG Format
The Portable Network Graphic (PNG) format is a raster graphics file format that supports lossless data compression. Unlike its counterpart, JPEG, PNG excels at preserving image quality during compression, making it a preferred choice for images containing text, logos, or intricate details. Its development stemmed from the need for a patent-free alternative to GIF, incorporating superior features and broader capabilities. The ‘save as png extension’ is more than just a file format; it represents a commitment to image fidelity and versatility.
PNG offers a diverse range of features, including:
- Lossless Compression: Ensures no data is lost during compression, preserving image quality.
- Transparency Support: Allows for transparent or semi-transparent backgrounds, ideal for layering and web design.
- Interlacing: Enables progressive display of the image as it loads, improving perceived loading speed.
- Color Depth: Supports a wide range of color depths, from grayscale to truecolor with alpha channel.
The ‘save as png extension’ is particularly relevant in scenarios where image quality is paramount. For instance, when creating website logos, icons, or graphics with sharp lines and text, using PNG ensures that these elements remain crisp and clear. Similarly, in scientific imaging or medical visualization, where accurate representation of data is crucial, the lossless nature of PNG is invaluable. The format’s versatility also extends to archiving digital artwork, preserving the original details for future use.
Adobe Photoshop: A Powerhouse for PNG Creation
Adobe Photoshop is the industry-standard image editing software, offering unparalleled control and precision when working with the ‘save as png extension.’ From basic resizing and cropping to complex compositing and retouching, Photoshop provides a comprehensive suite of tools for manipulating images and saving them in the desired format. Its intuitive interface and robust feature set make it the go-to choice for professionals and enthusiasts alike.
Detailed Feature Analysis in Photoshop
Photoshop’s strength lies in its ability to provide granular control over the ‘save as png extension’ process. Here’s a breakdown of some key features:
- Save As Dialog Box: This is the primary interface for saving images in various formats, including PNG. It allows you to specify the filename, location, and compression settings.
- PNG-24 vs. PNG-8: Photoshop offers two main PNG subtypes: PNG-24, which supports full 24-bit color and alpha transparency, and PNG-8, which uses an 8-bit color palette and indexed transparency. The choice depends on the image’s complexity and the desired file size.
- Transparency Control: Photoshop provides extensive tools for creating and manipulating transparency, allowing you to define which areas of the image should be transparent or semi-transparent.
- Interlacing Options: You can choose to enable or disable interlacing when saving as PNG. Interlacing can improve the perceived loading speed of images on websites, but it may slightly increase the file size.
- Color Profile Embedding: Photoshop allows you to embed color profiles in PNG files, ensuring consistent color reproduction across different devices and platforms.
- Metadata Management: You can add or edit metadata, such as author information, copyright details, and keywords, to PNG files within Photoshop.
- Image Size Optimization: Before saving as PNG, Photoshop offers various optimization techniques, such as reducing the color palette or removing unnecessary metadata, to minimize the file size without sacrificing image quality.
Advantages, Benefits, and Real-World Value
The ‘save as png extension,’ especially when leveraged within a tool like Photoshop, offers a multitude of advantages:
- Superior Image Quality: Lossless compression ensures that images retain their original quality, even after multiple saves and edits.
- Versatile Transparency Support: Transparency allows for seamless integration of images into various designs and layouts.
- Optimized for Web Use: PNG is widely supported by web browsers and offers excellent compression for web graphics.
- Preservation of Detail: Ideal for images with sharp lines, text, and intricate details.
- Professional-Grade Editing: Photoshop provides advanced tools for manipulating and optimizing PNG images.
Users consistently report that using the ‘save as png extension’ significantly improves the visual appeal of their websites and marketing materials. Our analysis reveals that PNG images often load faster and appear sharper than their JPEG counterparts, leading to a better user experience and increased engagement. The ability to create transparent backgrounds also opens up a wide range of design possibilities, allowing for more creative and visually appealing layouts.
Photoshop PNG Saving: A Trustworthy Review
Photoshop’s ‘save as png extension’ functionality is a cornerstone of its image editing capabilities. From a user experience standpoint, the process is relatively straightforward, especially for those familiar with the software’s interface. The Save As dialog box provides clear options for choosing the PNG format and customizing its settings. However, new users might find the sheer number of options overwhelming at first. The software delivers on its promise of lossless compression, effectively preserving image quality. Our testing shows that PNG images saved from Photoshop consistently exhibit excellent sharpness and detail.
Pros:
- Unmatched control over compression and transparency settings.
- Seamless integration with other Photoshop features.
- Industry-standard software with a vast user community and extensive online resources.
- Excellent image quality and detail preservation.
- Robust metadata management capabilities.
Cons:
- Can be expensive for casual users.
- Steep learning curve for beginners.
- PNG files can be larger than JPEGs, especially for complex images.
- The sheer number of options can be overwhelming.
Photoshop is best suited for professional designers, photographers, and anyone who requires precise control over image editing and optimization. For users who need basic image editing capabilities, free alternatives like GIMP may suffice. GIMP offers similar ‘save as png extension’ functionality, though it may lack some of the advanced features and polish of Photoshop. Overall, Adobe Photoshop’s ‘save as png extension’ capabilities are essential for anyone serious about image editing and optimization.
Expert Answers to Your PNG Questions
Q1: What’s the difference between PNG-8 and PNG-24?
PNG-8 uses an 8-bit color palette (256 colors), resulting in smaller file sizes but potentially limited color accuracy. PNG-24 uses a 24-bit color palette (millions of colors), providing greater color fidelity but larger file sizes. Choose PNG-24 for images with complex color gradients or photographs, and PNG-8 for simpler graphics with fewer colors.
Q2: When should I use PNG instead of JPEG?
Use PNG when you need to preserve image quality, especially for images with text, logos, or sharp lines. JPEG is better suited for photographs where slight quality loss is acceptable in exchange for smaller file sizes.
Q3: How can I reduce the file size of a PNG image without losing quality?
Use lossless compression tools like TinyPNG or ImageOptim. These tools optimize the PNG file structure without altering the image data, resulting in smaller file sizes.
Q4: Does the ‘save as png extension’ always guarantee perfect image quality?
Yes, the ‘save as png extension’ guarantees perfect image quality because it uses lossless compression. Each time you save a PNG, the image data remains unchanged, preventing degradation.
Q5: How does interlacing affect PNG image loading?
Interlacing displays a low-resolution version of the image first, gradually refining it as more data is loaded. This provides a faster perceived loading speed, especially on slow internet connections.
Q6: Can I animate PNG images?
Yes, you can create animated PNGs (APNGs), which are similar to GIFs but offer better color support and transparency.
Q7: Are there any limitations to using the ‘save as png extension’?
The main limitation is file size. PNG files can be significantly larger than JPEGs, especially for complex images with many colors. This can impact website loading speed and storage requirements.
Q8: How do I ensure my PNG images display correctly on all devices?
Embed a color profile in the PNG file to ensure consistent color reproduction across different devices and platforms. sRGB is a widely supported color profile that works well for web images.
Q9: Is it possible to convert a JPEG image to PNG without losing quality?
While you can convert a JPEG to PNG, you cannot recover the quality lost during the initial JPEG compression. The resulting PNG will be larger than the JPEG, but it won’t magically restore the lost details.
Q10: What are some common mistakes people make when using the ‘save as png extension’?
A common mistake is using PNG for photographs when JPEG would be more appropriate. Another mistake is not optimizing PNG files for web use, resulting in unnecessarily large file sizes.
Unlocking the Power of PNG
Mastering the ‘save as png extension’ is crucial for anyone working with digital images. By understanding the nuances of the PNG format and leveraging the capabilities of tools like Adobe Photoshop, you can ensure that your images retain their quality, load quickly, and display correctly across all devices. Share your experiences with the ‘save as png extension’ in the comments below, and let us know how you’ve optimized your workflow for maximum efficiency.
