
Mastering the 36 Yard Zero Target at 25 Yards: A Comprehensive Guide
Are you struggling to accurately zero your rifle or pistol at 25 yards using a 36-yard zero target? Achieving a precise zero is fundamental for consistent accuracy at various distances, and understanding the nuances of using a 36-yard zero target for a 25-yard range is key. This comprehensive guide will provide you with the knowledge and techniques needed to master this process, ensuring your shots hit their mark every time. We’ll delve into the ‘why’ behind the method, explain the underlying principles, and provide practical steps for implementation. Whether you’re a seasoned marksman or a beginner, this guide will elevate your shooting precision.
Understanding the 36-Yard Zero Concept
The concept of a 36-yard zero target used at 25 yards revolves around bullet trajectory. When a bullet leaves the barrel of a firearm, it doesn’t travel in a straight line. Instead, it follows a parabolic arc due to gravity. A 36-yard zero implies that the bullet’s trajectory will cross the line of sight (where your sights are pointing) at approximately 36 yards. However, achieving this zero requires understanding how the bullet behaves at closer ranges, such as 25 yards.
The reason for using a 36-yard zero target at 25 yards is often convenience or range limitations. Many indoor ranges are only 25 yards long. By understanding the ballistic arc, you can adjust your sights at 25 yards to simulate the point of impact the bullet would have at 36 yards. This is usually achieved by aiming slightly high at 25 yards, so the bullet impacts the target where it would at 36 yards.
Several factors influence bullet trajectory, including bullet weight, velocity, ballistic coefficient, and environmental conditions like air density and wind. A bullet with a higher ballistic coefficient will retain its velocity better and experience less drop, while a lighter bullet will be more affected by gravity and air resistance. Understanding these factors is crucial for making accurate adjustments.
Ballistic Trajectory and Point of Impact
The core of the 36-yard zero at 25 yards method lies in understanding the ballistic trajectory. When zeroing at 25 yards for a 36-yard zero, you are essentially setting your sights so that the bullet will impact slightly higher than your point of aim at 25 yards. This accounts for the bullet’s upward trajectory as it travels towards the 36-yard mark, where it should theoretically cross your line of sight.
Several online ballistic calculators and apps can help you predict the exact point of impact at 25 yards for a 36-yard zero, given your specific ammunition and firearm. These tools take into account factors like bullet weight, velocity, and ballistic coefficient to provide a more accurate estimate. However, it’s important to remember that these are just estimations, and real-world testing is always necessary to confirm your zero.
The difference in impact point between 25 and 36 yards is typically small, often less than an inch. However, this difference can be significant when shooting at longer ranges, so achieving a precise zero is crucial for consistent accuracy. This approach is commonly used with AR-15 rifles and similar platforms.
Step-by-Step Guide to Zeroing at 25 Yards for a 36-Yard Zero
Here’s a step-by-step guide to help you accurately zero your firearm at 25 yards for a 36-yard zero:
- Set Up Your Target: Place a 36-yard zero target at 25 yards. Ensure the target is securely mounted and clearly visible.
- Prepare Your Firearm: Ensure your firearm is clean, properly lubricated, and in good working order. Use the same ammunition you intend to use for regular shooting, as different ammunition types can have different ballistic properties.
- Establish a Stable Shooting Position: Use a stable shooting rest or sandbags to minimize movement and ensure consistent results. Consistency is key to achieving an accurate zero.
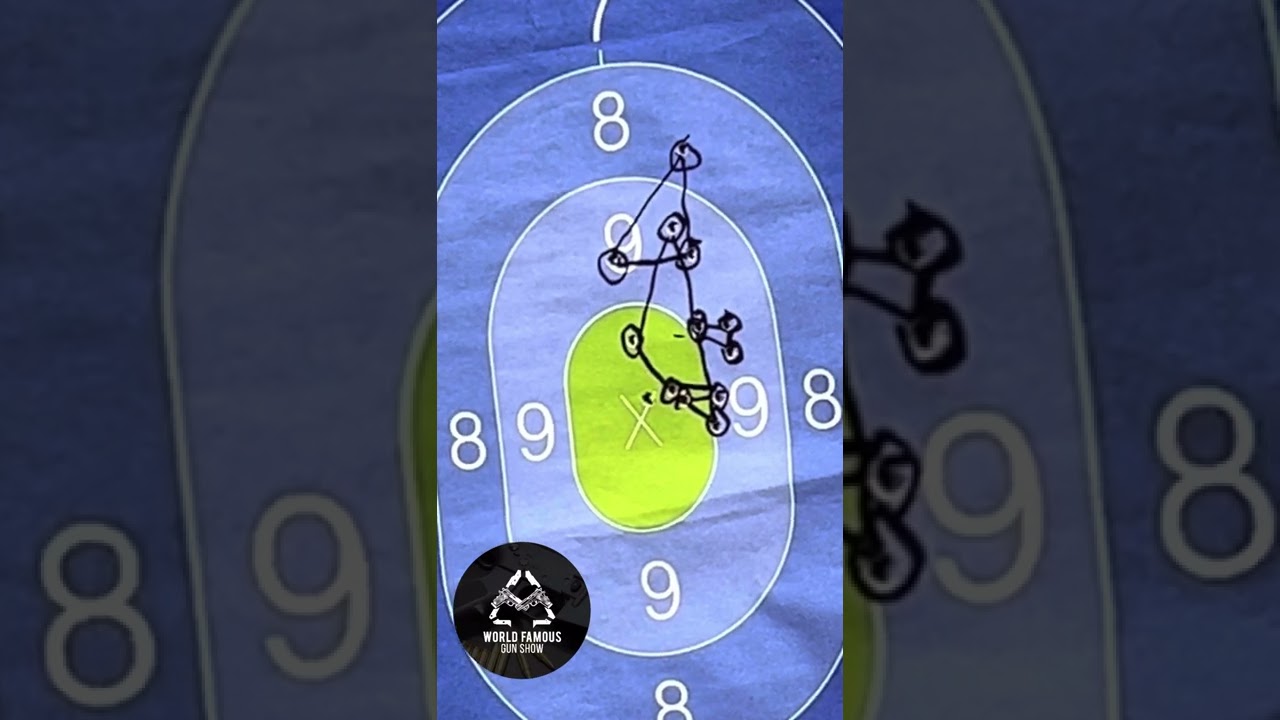
- Fire a Group of Shots: Aim at the center of the target and fire a group of 3-5 shots. Observe where the shots impact relative to your point of aim.
- Adjust Your Sights: Based on the group’s point of impact, adjust your sights accordingly. If the group is low and/or left, adjust your sights up and/or right. The exact amount of adjustment will depend on your firearm’s sight adjustment values (e.g., 1/4 MOA per click).
- Repeat the Process: Repeat steps 4 and 5 until your shots are consistently impacting slightly high of your point of aim. Remember, you are trying to simulate the bullet’s trajectory at 36 yards.
- Confirm Your Zero: Once you are satisfied with your zero at 25 yards, it’s always a good idea to confirm your zero at 36 yards (or a similar distance) if possible. This will ensure that your adjustments are accurate and that your firearm is properly zeroed.
Common Mistakes and How to Avoid Them
Several common mistakes can hinder your ability to achieve an accurate zero:
- Inconsistent Shooting Position: Maintaining a consistent shooting position is crucial for accurate zeroing. Use a stable rest or sandbags to minimize movement.
- Using Different Ammunition: Different ammunition types can have different ballistic properties, which can affect your point of impact. Always use the same ammunition when zeroing your firearm.
- Neglecting Environmental Factors: Wind, temperature, and humidity can all affect bullet trajectory. Be aware of these factors and adjust your shooting accordingly.
- Rushing the Process: Zeroing a firearm takes time and patience. Don’t rush the process, and take your time to make accurate adjustments.
The Role of Ammunition in Achieving an Accurate Zero
Ammunition plays a crucial role in achieving an accurate zero. Different types of ammunition have different ballistic properties, including bullet weight, velocity, and ballistic coefficient. These properties can significantly affect bullet trajectory and point of impact.
For example, a heavier bullet will typically have a lower velocity and a higher ballistic coefficient than a lighter bullet. This means that it will retain its velocity better and experience less drop, but it will also have a different trajectory. Similarly, ammunition with a higher velocity will typically have a flatter trajectory than ammunition with a lower velocity.
When zeroing your firearm, it’s essential to use the same ammunition you intend to use for regular shooting. This will ensure that your zero is accurate for the specific ammunition you are using. If you switch to a different type of ammunition, you may need to re-zero your firearm.
Tools and Equipment for Precise Zeroing
Several tools and equipment can help you achieve a more precise zero:
- Shooting Rest or Sandbags: These provide a stable platform for your firearm, minimizing movement and ensuring consistent results.
- Bore Sighter: A bore sighter is a device that is inserted into the barrel of your firearm and projects a laser beam onto the target. This allows you to roughly align your sights with the bore of your firearm before firing any shots, saving time and ammunition.
- Ballistic Calculator: A ballistic calculator is a software program or app that calculates bullet trajectory based on various factors, including bullet weight, velocity, ballistic coefficient, and environmental conditions. This can help you predict the point of impact at different distances and make more accurate sight adjustments.
- Precision Target: Using a target with precise markings can help you measure your shot groups more accurately and make more precise sight adjustments.
Understanding Minute of Angle (MOA) and Sight Adjustments
Minute of Angle (MOA) is a unit of angular measurement commonly used in shooting. One MOA is equal to approximately 1 inch at 100 yards. Most firearm sights are adjustable in MOA increments, typically 1/4 MOA per click. This means that each click of the sight adjustment knob will move the point of impact by 1/4 inch at 100 yards.
Understanding MOA is crucial for making accurate sight adjustments. For example, if your shots are impacting 2 inches low at 100 yards, you would need to adjust your sights up by 2 MOA. Since most sights are adjustable in 1/4 MOA increments, this would require 8 clicks of the adjustment knob.
At 25 yards, one MOA is equal to approximately 1/4 inch. This means that each click of a 1/4 MOA sight adjustment will move the point of impact by approximately 1/16 inch at 25 yards. This is a very small adjustment, so it’s important to make small, incremental adjustments when zeroing your firearm at 25 yards.
The Importance of Follow-Through
Follow-through is the act of maintaining your shooting position and sight alignment after firing a shot. Proper follow-through is crucial for consistent accuracy, as it helps to minimize movement and ensure that the bullet leaves the barrel in a consistent manner.
To practice proper follow-through, focus on maintaining your grip, stance, and sight alignment for a few seconds after firing a shot. Avoid flinching or anticipating the recoil. With practice, proper follow-through will become second nature, leading to improved accuracy.
Advanced Techniques for Fine-Tuning Your Zero
Once you have achieved a basic zero, there are several advanced techniques you can use to fine-tune your zero and improve your accuracy:
- Group Size Analysis: Analyze the size and shape of your shot groups to identify any patterns or inconsistencies. This can help you identify potential problems with your shooting technique or equipment.
- Windage Adjustments: If you are shooting in windy conditions, you may need to make windage adjustments to compensate for the wind’s effect on bullet trajectory. Use a wind meter to measure the wind speed and direction, and adjust your sights accordingly.
- Elevation Adjustments: If you are shooting at different distances, you may need to make elevation adjustments to compensate for bullet drop. Use a ballistic calculator to determine the amount of drop at different distances, and adjust your sights accordingly.
- Sub-MOA Adjustments: Some high-end sights offer sub-MOA adjustments, allowing for even more precise zeroing. These sights are typically more expensive but can be worth the investment for serious shooters.
Real-World Applications and Scenarios
The 36-yard zero at 25 yards method is particularly useful in several real-world scenarios:
- Indoor Shooting Ranges: Many indoor ranges are limited to 25 yards, making it impossible to zero at longer distances. The 36-yard zero at 25 yards method allows you to simulate a longer-range zero in a limited space.
- Limited Range Access: If you don’t have access to a range with longer distances, the 36-yard zero at 25 yards method can be a convenient way to zero your firearm.
- Close-Quarters Shooting: A 36-yard zero is often preferred for close-quarters shooting, as it provides a relatively flat trajectory out to moderate distances.
Expert Insights on Maintaining Accuracy
Maintaining accuracy after achieving a zero requires consistent practice and attention to detail. Leading experts in marksmanship emphasize the importance of several key factors:
- Regular Practice: Consistent practice is essential for maintaining your shooting skills and reinforcing your zero. Aim to practice at least once a week, if possible.
- Proper Firearm Maintenance: A clean and well-maintained firearm is more accurate and reliable. Clean your firearm regularly and lubricate it properly.
- Consistent Shooting Technique: Maintaining a consistent shooting technique is crucial for accurate shooting. Focus on your grip, stance, sight alignment, and trigger control.
- Mental Discipline: Mental discipline is just as important as physical skill. Stay focused and avoid distractions when shooting.
The Benefits of Precision Shooting with a Properly Zeroed Firearm
Achieving a precise zero and maintaining accuracy offers numerous benefits:
- Improved Accuracy: A properly zeroed firearm will significantly improve your accuracy, allowing you to hit your target more consistently.
- Increased Confidence: Knowing that your firearm is properly zeroed will boost your confidence and allow you to focus on your shooting technique.
- Enhanced Safety: Accurate shooting is safer shooting. A properly zeroed firearm reduces the risk of accidental injury or property damage.
- Greater Enjoyment: Accurate shooting is more enjoyable. You’ll get more satisfaction from hitting your target consistently.
Zeroing for Success
Mastering the 36-yard zero at 25 yards requires a thorough understanding of ballistic principles, attention to detail, and consistent practice. By following the steps outlined in this guide and avoiding common mistakes, you can achieve a precise zero and significantly improve your shooting accuracy. Remember to always prioritize safety and follow all applicable laws and regulations. Now that you understand the process, consistently practicing these techniques will undoubtedly enhance your precision and overall shooting experience. Share your experiences with zeroing your firearms in the comments below – your insights could help other shooters improve their skills.
